Dinosaur Thank You Cards!

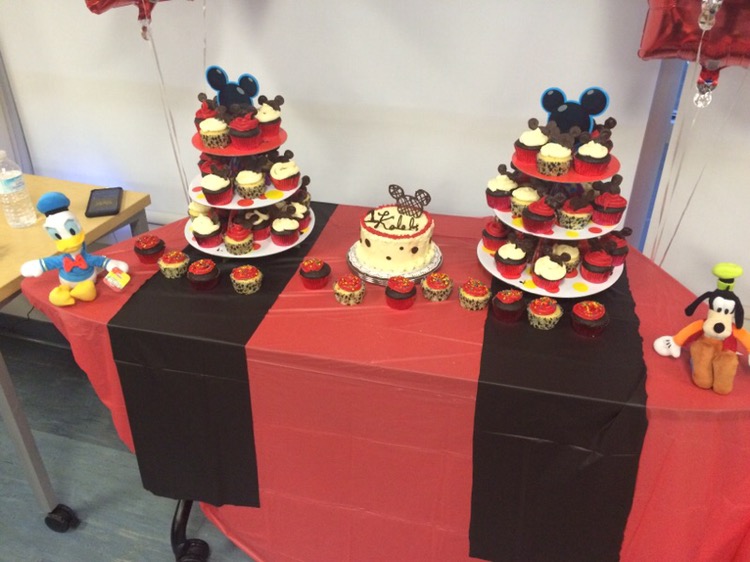
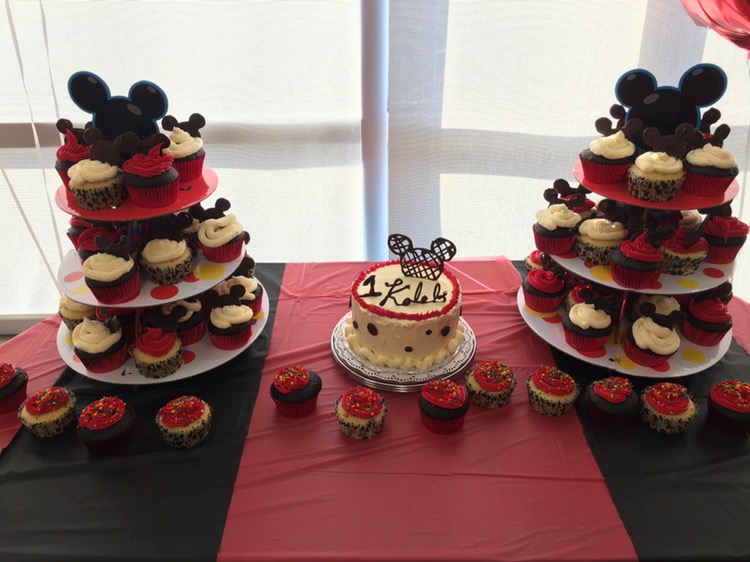
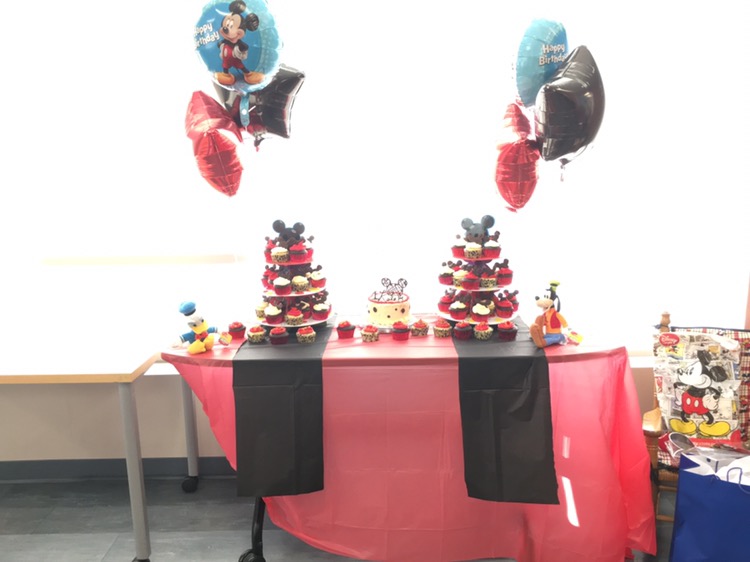
This is going to be a short post since I am in the midst of writing out thank-you cards from Kalebs second birthday, but I wanted to share these with you! 

We just bought a new house three months ago, and as any new homeowner comes to realize, saving money is key! I’ve started to make my own things here and there and let me tell you, making your own cards is so cost effective it saves you money in the long run!  I went to my local Joann Fabrics the other day looking for blank notecards and envelopes so that I could make some custom dinosaur thank you cards for everyone who came to Kalebs birthday a few weeks ago. What I was not expecting was to walk out of the store with 3 boxes of blank cards (130 total!) for less than $15!!!! I mean, that comes down to 11¢ a card! 

Since moving into our new home I have taken on this notion of “perfect mom, perfect wife perfect house, perfect life”.  And part of that delusion is making sure everyone I know gets a birthday card in the mail.

By all means I am not perfect, there’s dishes in the dishwasher that need to be put away, animal hair has been building in the corners all week, but that’s ok. Because this is what life is. It’s ignoring the “chores” and spending the afternoon sledding with your little man. 

It’s finding ways to make sure everyone you know gets a birthday card that you made. I don’t know about you but spending 2,3 sometimes even 7 dollars on a birthday card is too much when you have three or more birthdays in a month. (?!? Yes I spent $7 on the last birthday card I bought because I didn’t pay attention and was in a rush) 

You can make your cards as fancy as you want! You can have them say just what you want, and you can gift them with pride saying “I made that!”

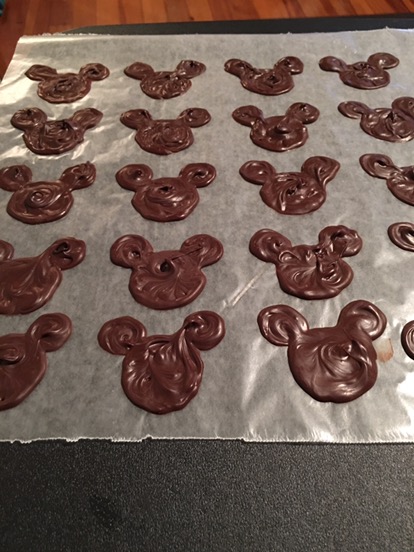
These cards were super easy to make. I cut out the footprints on my Cricut machine my lovely husband bought me for Christmas, and also had it write “thank you!” In silver on them. Used Elmer’s Dot Runner glue to fix the footprints to the cards, filled them out and sent them on their way!

 All in all including postage, these cost under 75¢ to make! What a deal!!! 

Stay Crafty!

A Hot Digity-Dog Mickey Mouse First Birthday!

Kaleb’s First Birthday Mickey Mouse Themed Birthday

We had so much fun putting together Kaleb’s first birthday party! Everything you see below was hand-made with the exception of the Mickey Mouse Cupcake Towers, & Mickey Mouse Cupcake Papers.

The Mickey Mouse cupcake toppers were melted chocolate I put into a squeeze bottle and then traced over them on wax paper & let cool in the refrigerator. The Mickey Mouse month by month banner I hand cut from templates I printed online. Which makes me very grateful that my husband bought me my Cricut Explore Wireless! Makes cutting designs out so much easier and faster!

I’m going to keep this post short and sweet and might come back to it as some point to add more but I hope this post gives you some ideas to make your Mickey Mouse Birthday a hot-diggity-dog one!

My little Mickey Mouse Man! 

Halloween Party Foods

LHalloween Party Foodsast weekend was Halloween! One of my favorite holidays like I mentioned in my last blog post. I had been talking with my sister-in-law about wanting to throw a halloween party and we decided that this year we were going to do it! So after weeks of planning and waiting for the party day to arrive, we had a successful halloween & pumpkin carving party!

I wanted to share a few of the food items that I made for the party! They were really fun to make and really easy.

IMG_6153

Pumpkin Deviled Eggs

The first I can’t take credit for. The Pumpkin Deviled Eggs were the result of my wonderful husband. I just contributed the idea of making them look like pumpkins 😉

  1. Prepare them like normal, hard boil the eggs, let them cool a little, de-shell them and cut them in half.
  2. Take the yolks out and place in a bowl.
  3. Mix with a little mayonnaise, ground mustard, hint of ground pepper and orange food coloring.
  4. Put into a piping bag (can use a zip lock bag, just cut the corner off to make a piping bag) and fill the center of the eggs.
  5. Next, chop up some celery and place halfway into the filling to make the “stalk” of the pumpkin.
  6. Enjoy!

Oreo Bats

IMG_6155Ingredients:

  • 1 Package of Oreos
  • 1 Block of Cream Cheese (softened)
  • Melting Chocolate
  • Candy Eyeballs
  • Candy Lollipop Sticks or Paper Straws(pictured)
  • Wing Stencil (click here) & wax paper
  1. Finely crush up Oreos in blender or food processor.
  2. Mix Oreos in a bowl with softened cream cheese until well blended.
  3. Form 2 inch balls (can be smaller if you wish) with the mixture & set on wax paper lined cookie sheet.
  4. Stick lollipop sticks/paper straws in Oreo balls.
  5. Set in freezer for at least 1 hour.
  6. While the balls are in the freezer, start making the bat wings (I did this the night before & just put the wings in the refrigerator overnight.)IMG_6108 copy
  7. Print off your stencil & cover with wax paper.
  8. Melt some chocolate & put into a piping bag (again you can use a ziplock bag with corner cut off.)
  9. Start tracing the bat wings with the chocolate.
  10. Trace twice as many as you have balls and place in the fridge when done.
  11. When the balls are cool enough, start melting the chocolate down. I used a chocolate that I found that comes in a microwave safe container and melts down in 60-90 seconds.
  12. Take the balls out and start dipping! you’ll want to do this part carefully as to not over cover the balls. Should be able to evenly coat the balls & let chocolate harden a little before putting down. (to avoid a flat spot, get a foam block to stick them in.)
  13. While the balls are still wet add the eyeballs to the bats & the bat wings one at a time. If you need to, coat the end of the batwing in chocolate and stick to the ball.
  14. Optional: you can add tiny chocolate chips to the top of the balls to make little horns/ears.
  15. Enjoy! – These were a big hit and I promise they will go fas

IMG_6125Mummy Oreo Pops

Ingredients:

  • Oreos
  • Paper Straws/ Lollipop Sticks
  • White Chocolate
  • Candy Eyeballs
  1. Stick the lollipop sticks or paper straws into the middle of the Oreos. (if using paper straws you will want to cut them in half and flatten the part you are sticking into the Oreo.)
  2. Freeze/Refrigerate the Oreos for a half hour.
  3. Start Melting the white chocolate, making sure to save out some for the “wrapping”
  4. Dip the pops into the white chocolate giving it a good coat.
  5. Lay on wax paper & add candy eyeballs
  6. Wait until they are completely dry & start adding wrapping.
  7. In a piping bag (or zip lock – as you can see I love using this option due to the easy cleanup factor!) place the melted white chocolate and start drizzling over the pops going back and forth to make it look like a mummy who’s all wrapped up.
  8. Refrigerate until ready to eat!
  9. Enjoy!

I hope you enjoyed this blog post! Leave me a comment below if you have any questions or want see something specific!

Stay Crafty!

Upcycled Wood Family Name Sign

So a few weekends ago I had a Bridesmaid Tea that I attended for my my childhood friend who is got married this past Saturday. I didn’t know what to get her besides the normal registry list items. I don’t know about you, but I hate to follow registries. I love to make them 😜 but I like to get creative in my presents I give and most of the time that means I need to deviate from their registry.

This couple are so meant for each other! I have known Mallory since we were in diapers, she lived two houses down the road from me. She met Ben a few years ago and I am so happy to see the joy and love they have for each other.

I wanted to make them something for their new apartment for after the wedding and what a better thing than an established name sign!!

I was able to make this sign out of thing I had laying around the house and it took me about an hour and a half. I hope you enjoy this tutorial as much an I loved the finished project! I can’t wait to make more of these for Christmas presents!!!

Materials:

  • Piece of wood (I used pine)
  • Pencil
  • Print out of name you want to copy in right size and typography
  • Acrylic paint
  • Stain

Optional:

  • Picture hanging hardware
  • Polyurethane (if hanging outside)


I Started by tracing the printed out letters onto the wood. If you use a heavier wood than pine, you will have to rub charcoal on the back of the print out first. But since pine is soft it left an imprint in the wood that I could paint over after.

After you’re done tracing the letters, you can start painting! It is very important that you choose a paintbrush that has short bristles. Or else you will have a lot of feathering on the edge of your lines.

Let your paint dry overnight! This is important so that it dries completely before you put the stain on or it might smudge the paint.

You can stain it any color you like, any way you like. I had this stain left over from a project I did a few years ago so it was perfect!

After you’re done, you can either add a couple layers of polyurethane or clear sealer if your sign will be exposed to the elements. You can add hanging hardware or a chain. Whatever way you make it, make it yours!

Stay Crafty!

Elephant Diaper Cake!

Hi guys! Sorry I haven’t gotten to post in a while. Life has been a whirlwind of crazy and busy and laughs and tears all mixed together! Today I went to a baby shower for a friend and co-worker and her and her husband are expecting a little boy in October. When she posted about her baby shower I knew exactly what I wanted to do for her, Make a diaper cake!

I had a beautiful diaper cake made for me for my shower and I found it so useful because of all the best things that were included with it (including the cake topper Taggie Monkey which my son loves!) I have never done anything like this and was excited to attempt it!

I will apologize for the poor photos, I did this diaper cake in the hour my son had finally fallen asleep for the night and the time he woke up from teething pain.

Here we go!!!

Materials:

  • Diapers of choice – I chose honest company diapers that had an elephant theme as her nursery will be elephants
  • Take and toss spoons and forks – for decoration & support inside
  • Ribbons & Twine – You can really get creative with this, add embellishments & cute pictures. Since I had already had these colors in my crafty tower, it was perfect!
  • Cute Cake Topper – I used an elephant teether. Kaleb has the same one but only his is a giraffe and he loves it! I try to give people things that I can personally endorse!
  • Cardboard Cake Round
  1. IMG_5343I first rolled up all the diapers into cylinders. I rolled about 60 or more and secured them with the clear rubber bands.
  2. Then, I made the first layer of the cake. I used about 10 diapers and arranged them all on their ends. I put the elephant teether in the middle for the “cake topper”.
  3. I then wrapped the first layer with the jute string to secure it tightly.
  4. Next, I took my colorful ribbon and IMG_5340
    wrapped it around and made a tight bow on the front.
  5. Next, I untied the jute string and re-tied it nicely over the colorful ribbon. I incorporated the knot of the jute with the knot of the ribbon so they both stayed straight.
  6. I continued steps 2-4 with the next two layers, making them noticeably larger to make the layers distinguishable.
  7. After the layers were all done, I started putting the “pillars” inside. I took all the green and blue forks and spoons and put them aside and used the rest of the colors as columns inside to hold the layers of the diaper cake together. diaper cake
  8.  After the cake was assembled, I started putting the rest of the spoon & forks into the cake layers and made them look like candles sticking out. Just something fun to add to the cake. When Kaleb started eating baby food I was so grateful to have these around for him!
  9. The final step was to transfer the diaper cake to the cardboard cake round so I could easily carry it to the baby shower!

You can do so much with your diaper cake. Be creative! Walk down the baby isle at your local store and take inspiration from what you see! A baby’s world is so colorful, you can’t help but be inspired!

Until Next Time – Stay Fashionably Crafty!


Welcome to the world! – Canvas Decal Tutorial

“May you touch dragonflies & stars, dance with faeries & talk to the moon. May you grow up with love & gracious hearts & people who care. Welcome to the world little one, It’s been waiting for you.”

Canvas Decal Tutorial

When I was pregnant with my son I had this huge urge to make him a custom wall art canvas for his nursery. I am obsessed with Pinterest (as you all probably know!) and loved looking at all the nurseries that people post about. I started looking for some wall decals with cute quotes for his room and I came across this quote decal by Vinyl Masterpieces on Etsy. I fell in love with it and knew I wanted to create something special. It took me a few days to complete this project but I felt so accomplished at the end and would recommend doing a similar project to just about any new mom!

Canvas Decal Tutorial:

Tools Needed:

  • Wall Decal of your choosing (quotes work best)
  • Credit Card/ Decal Rub Card
  • Canvas that is bigger than your decal (not too much bigger or else you’ll have extra space)
  • Painters tape
  • Paint in your choice of colors
  • Paint brushes
  • Modge Podge
  • Ruller & Pencil
  • Book or hard surface for under the canvas
  1. Start by laying out your design you want to keep white with the painters tape. I decided to go with a chevron theme in my son’s room so I did a cross between a chevron and herringbone pattern.
  2. Paint your desired colors over the whole canvas. Make sure you let it dry completely between layers of paint.
  3. Wait at least 4 hours for the paint to dry.
  4. Peel off the painters tape, being careful not to tear any of the paint that might have stuck to it.
  5. Apply one thin layer of Mode Podge. Let dry completely before next step.
  6. Line up your wall decal and tape down so it won’t move but you can still access the other side.
  7. Put your book or hard surface under the canvas so when you start rubbing the decal you have a good pressure.
  8. Start rubbing your decal on the canvas being careful to apply generous pressure to all areas of the decal.
  9. Gently pull the decal backing away from the decal, be careful not to tear any letters that might not have stuck to your canvas. You may need to go over a few spots again.
  10. After you are all done with the decal, start applying thin layers of Modge Podge over the whole canvas, allowing it to dry completely in between layers.

Stand back and admire your wonderful one of a kind canvas!

Stay Crafty!