My Gym Bag Essentials

Hey all,

I wanted to share with you my perfect gym bag essentials. There truly is a craft for packing just the right amount of equipment and supplies that you need for the gym without overpacking.

Since my first day back to the gym since before I had my son is tomorrow, I thought it the perfect time to share with you What will be going into my gym bag!

Pictured

  1. Goomee Hair Ties – ladies, I cant stress enough how important it is to get your hair up and out of your face while working out. There’s something about sweat on the back of your neck that I just do not like and being able to get my hair up is a major requirement for me to feel comfortable at the gym.
  2. Blender Bottle & Protein Powder – this is personal preference. I am on a high protein diet due to bariatric surgery I had back in November. I need to get 70+ grams of protein in a day and there’s no way I’d be able to without my quest protein powders. They come in so many wonderful flavors and my blender bottle makes it so there are no lumps!
  3. Eos Lip Balm – this is my favorite lip balm by far! Provides the most moisture and hydration for my lips and lasts for my whole gym time without having to re-apply!
  4. Good Sneakers – this is by far the most important piece you can put in your bag. If you don’t have adequate sneakers, you won’t have a great experience at the gym. Sneakers can make or break a workout so make sure you invest in good quality ones!
  5. Your actual gym bag – You can use whatever you want, but something that has a designated space for your shoes and a big enough space for your clothes is a great option to have! The one pictured above is on my wish list. It will be mine in the next couple of months, but for now I am using a zip up tote bag which works great as well.
  6. Active-wear – Who doesn’t love to look cute working up a sweat? These tops are definitely on my need-to-buy list. But you don’t need active shirts with clever sayings like the ones above. Ones that fit and that let you move is all you need! And don’t forget the yoga pants!!!
  7. The Right Bra – To have a great gym experience, you need to have the right size, fit and control bra. I cannot stress this enough – IF YOU ARE RUNNING ON THE TREADMILL AND YOUR BRA DOESN’T FIT RIGHT, YOU WILL GET SMACKED IN THE FACE!
  8. Post Workout Makeup – You do not need to leave the gym with a full on face of makeup, but, you probably should apply a light bb-cream with sunscreen, like this one by e.l.f. especially if you are heading out to work right after!
  9. Rinse Free Cleansing Water – I love love LOVE this cleansing water by Yon-ka! Its made with botanicals andย  leaves your skin feeling soft, cleansed and refreshed! Use pre-workout and post-workout for the best effect!

Not Pictured:

  1. Your Favorite Water Bottle – My personal favorite is by Contigo. I have 3 of them that I alternate between. The oz. on the side keep me going and let me know how many ounces I’ve drunken already and how many I have to go.
  2. Lock – This is a no-brainer. You don’t want your stuff stolen do you?
  3. Headphones & iPod/phone – If you’re like me, your only motivation to actually move is music. So make that playlist, download that music app like Spotify or Pandora, and get moving!

Whatever you put in your gym bag, make sure you keep moving your booty!

Until then,

Stay Crafty!


New Year, New Projects!

Hey all! It’s been quite some time since my last post but believe me that doesn’t mean I haven’t been my usual craft self! I’ve been finding it harder and harder to find the time to write down these posts. I take the photos, have all the right intentions, but where do I find the time? From taking care of my little man to keeping house and working full time, it’s almost impossible.

My New Years resolution: Make The Time!

I always find it funny when you are looking on Pinterest, and one minute you are looking at “gym bag essentials” and you wind up watching tutorials on “how to diy dye yarn”. How did I get here? Not that I mind, because it got me interested in hand dyeing my own yarn.

Whenever I go into this fancy yarn stores, I am enthralled by all the skeins of brightly colored hand-dyed yarn. But as soon as my eyes read the price tag, back it goes, intimidates to even try anything with them for fear of wasting $20+ of yarn on something that won’t come out right.

My first project of 2018 was easy, affordable, and really fun! I hope you enjoy reading about it here ——–>DIY Hand Dyed Acrylic Yarn

Until then,

Stay Crafty!!

DIY Hand-dye Acrylic yarn with Acrylic Paint

Back in my New Years post I talked about how looking at Pinterest for “gym bag essentials” lead me to “diy hand-dyeing acrylic yarn”. I’ve always loved looking at the beautiful skeins of hand-dyed yarn at my local yarn store but the price tag always scared me away. I am so happy my pinning lead me in this direction today!

Not only did I have all the supplies on hand, but it really only took me about an hour to complete and then 5-8 hours of drying time!

Supplies:

  • 1 skein white or cream acrylic yarn
  • Plastic solo cups
  • Plastic spoons or popsicle sticks
  • Large bowl
  • Water
  • Acrylic paint – your color choice(s)
  • Rubber gloves

Step One

Start by wrapping your skein of yarn around two chairs like the photo below. This will make it long enough to do a stopping effect with the yarn if you wish to do. When you are done, wrap 4 strands around the ends and middles and tie a loose knot. This way, your yarn won’t become a tangled mess.

Step Two

Take your yarn and soak it in a bowl. Make sure it’s nice and saturated to allow the “dye” to soak all the way through. Pick it up and squeeze the excess water out. You can dump the bowl and put it away, we won’t be needing it anymore.

Step Three

Mix your colors. I forgot to get a photo of this step, but all I did was pour it halfway full with warm water, then squeeze in a bunch of acrylic paint. Mind you, your finished colors are gonna be a lot lighter than what you see in your cup.

Step Four

Place your yarn in the cups like the picture below. I used a spoon to distribute some of the colors up and over the edges of the cups. But in the drying phase they will blend together too. Leave your yarn in the dye for 30 minutes.

Step Five

Slowly take your yarn out carefully, and dump out your paint dye. In this process I accidentally got some pure paint that hadn’t mixed on my yarn but I like it. Makes it unique! I put some rubber gloves on my faucet to protect it and I hung my yarn to drip dry. I also put a cup underneath since I didn’t want the paint to stain my sink ๐Ÿ˜‹.

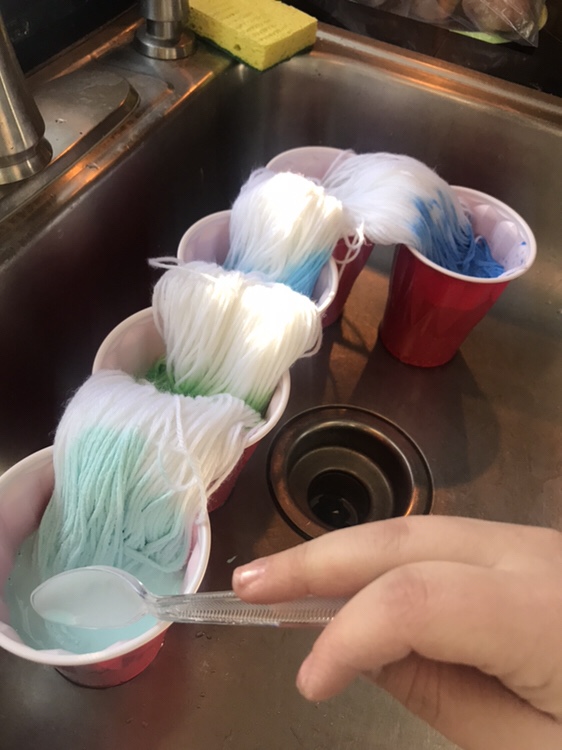
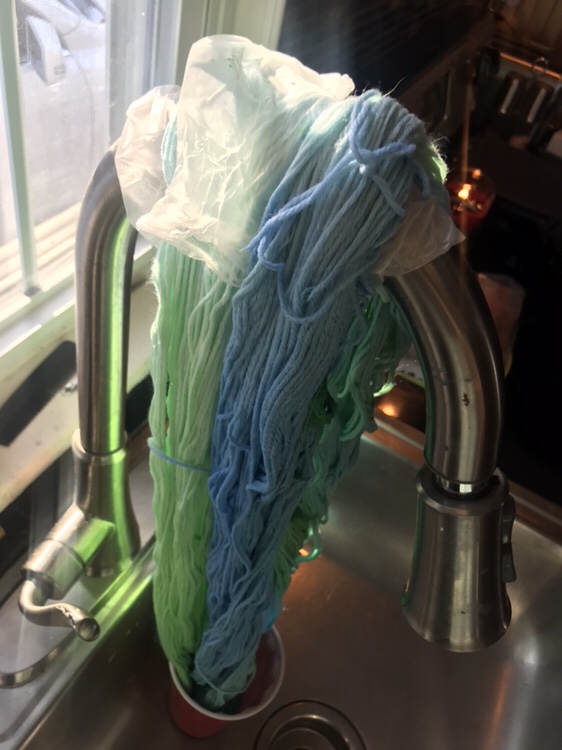
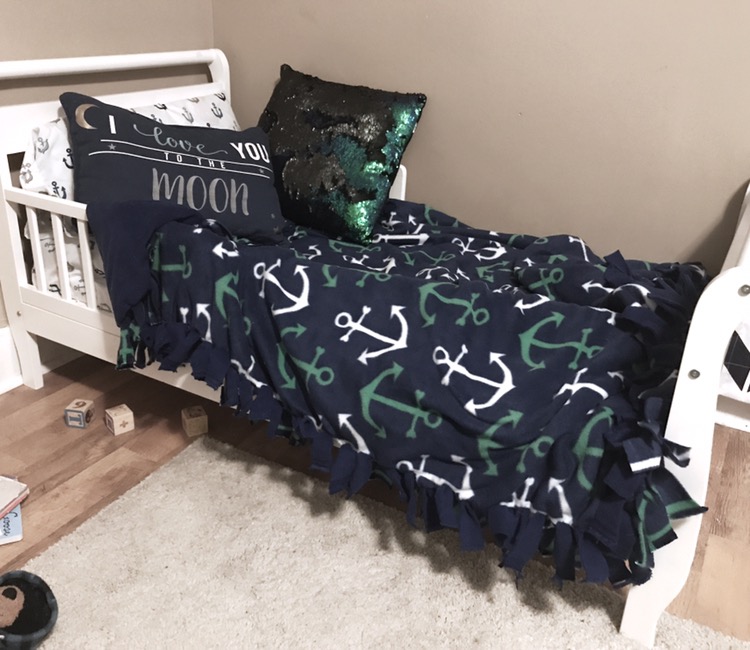
< strong>Step Six<<<<<<<<<
e hard part. Waiting for your beautiful yarn to dry! I have tried to use a hairdryer to speed up the process but didn't get too far with it. The only true way is to just wait it out. But I promise, the results are worth it!!

As I wrote this, I am still waiting for my beautiful hand-dyed yarn to dry and I cannot wait to make something out of it!!!

Until then,

Stay Crafty!

Loom Knitting

It’s been a while since I’ve posted anything, but it’s because I am just so involved with my new projects I barley have time for anything else (please excuse the laundry pile that keeps growing ๐Ÿคฆ๐Ÿผโ€โ™€๏ธ).

The other day I decided to pick up my knitting needles again after almost a year of not making anything. But my project was progressing slowly as I am not a fast needle knitter. So like usual, I took to YouTube and Pinterest and searched for “how to knit faster.” My results? Showed some really fast knitters with incredible hand speeds, and something called loom knitting. I wasn’t completely unaware of loom knitting since my sister in law had a few round looms that she would make hats with. But I thought that’s all you could do.

Every video that I watched got better and better and I just could t stop! The next day I went to my local Hobby Lobby and purchased an adjustable long loom and some sugarwheel yarn by YarnBee.

I started my project last Tuesday night, and I finished it by Sunday! I can’t believe how easy and fast it was!

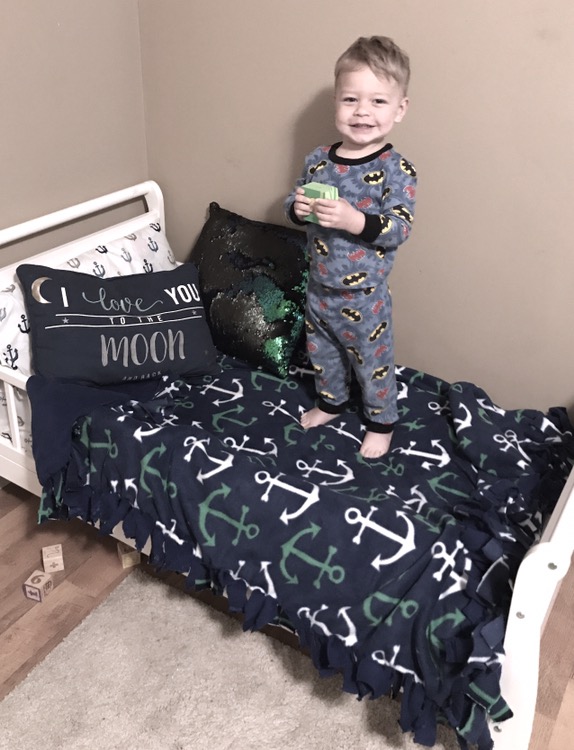
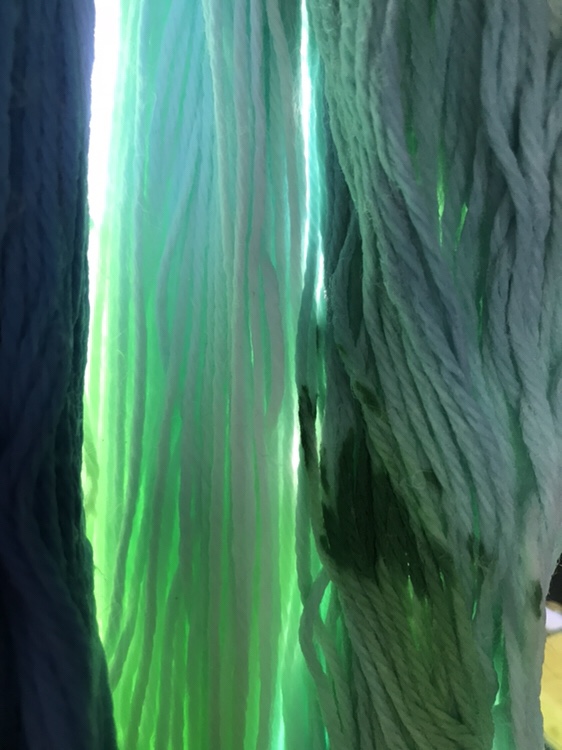
As soon as I was done with this blanket, I went on to making custom scarf orders! These and more projects can be found in my Etsy Shop!!!

Check out my Etsy Shop! I accept custom orders!!

Watercolor Name Gifts!

I have recently picked up a new art form. I have loved watercolor for years but never was serious about learning it until now. With our new house, came a great big attic space to stretch out and have space for all my craft & art needs. I'm still working on my space but love the energy in it already.

I have done a few small paintings to get my brush wet (no pun intended) and have also started to combine hand-lettering with watercolor. I've made and given a few gifts already and love the response I am getting from them! A co-worker even told me I should start selling them!

Here are a few examples and I hope you enjoy!

Homemade Basil Hummus Recipe

It’s that time of year again. Where gardens are in full swing and this heat has them growing like crazy! I went out this morning and harvested my second batch of lettuce & my third batch of basil!

Anyone who knows me well knows I LOVE Basil. There’s something about the smell and taste I can’t get enough of it. From using Mrs. Meyers Basil Dishwashing Soap to having Basil a scented Candles around the house I am always surrounded by the smell.

When we moved to our home back in December, I told my husband that I would really like to have a vegetable garden this year. I have only ever had one once and that was when I was living home and it didn’t go so well due to poor soil we had purchased for the planter box my father made me. In the spring, my husband made me a beautiful planter box and we filled it with Natures Care organic specially mixed soil meant for raised garden beds.

I was determined to have a good year! So far, we’ve had plenty of rain, a lot of hot sunny days, and the garden is thriving. I planted 5 Basil plants, 3 varieties of Tomatoes, 3 variety of peppers (some hot some sweet), green beans and cucumbers.


The photo above was the first round. I relocated the lettuce to a big pot in the shade, and added a few more plants.

I have been trying eat more healthy, and I love hummus! My husband has made it for me a few times but after my harvest of Basil today I wanted to try my hand at it.

The result was amazingly yummy! I am so glad I got out in the garden today and was able to say “that came from my garden!”

The girls at work are going to love it and I can’t wait to share it with them!


Homemade Basil Hummus

10 servings – 152 calories per serving – 6g total fat – 8g protein – 18g carbohydrates 

Ingredients:

  • 1 1/2 cup fresh basil
  • 1 can chickpeas, drained and rinsed
  • 3 tbs tahini
  • 1/4 cup water
  • Pink Himalayan salt (to taste)
  • Ground pepper (to taste)

Directions:

  1. Place all ingredients in a blender or food processor.
  2. Blend until all ingredients are blended and mixed well.
  3. Store in mason jars or other small snack size containers.
  4. Enjoy!

See, I told you it was easy!

Stay Crafty!

DIY no-sew blanket!ย 

If you have ever tried to find a cute blanket for your little that matches the “theme” you’ve deluded yourself into thinking your son or daughter needs you have most likely come to the realization that either A. You can’t find what you are looking for in “toddler size” (for a toddler bed which is the same size as a crib mattress) or B. You have found what you are looking for and it is astronomically expensive. $60 for a toddler bedding set? Really?  

When we moved to our new house back in december, I was set on keeping Kalebs room the same theme, Nautical. We already had soo many sheets and wall decor I couldn’t bring myself to switch over. We just bought a house, it was Christmas time, he’s a toddler. He won’t even notice! 

Moving to the new house meant some changes. One of the big changes was that Kaleb would be in a toddler bed now. We were all so excited! I hopped online and started searching for cute Nautical themed sheets, blankets and pillows. To my surprise, they were super expensive! How can something that is made with half the fabric be almost 2 times more expensive! I was able to find a cute anchor sheet set and blue and white stripped comforter from Target around Christmas that wasn’t too pricey. Since then, it has been a struggle! 

A few weeks ago I was at my local Walmart picking up a few household necessities. I noticed they are starting to redo the floors and are moving everything around so you feel like you’re on a scavenger hunt just to find the paper towels! 

Right across the isle from where the paper towels are now located, there was a huge rack with all of their fabric options, now up to 75% off! I went over and perused the styles and options because you know I can’t just pass up a bargain! I came to the fleece fabrics and got the crazy idea of making him one myself! 

I had gotten a fleece blanket from my husbands family member for my baby shower and I instantly fell in love with it! It was soft, warm and cozy! And of course, it was a no-sew blanket! I had never attempted one before and was excited to try! I made Kalebs anchor blanket for a total of $11!! 

This project was super easy, inexpensive and only took 2 and a half hours to complete. It’s the perfect project to do while you’re binge-watching your favorite Netflix show! 

Materials:

  • 5 yards fleece fabric (2 different designs)
  • Scissors 
  • Favorite Netflix show

Instructions:

  1. Lay out your fabric on top of each other, designs facing outwards. I laid mine out on my bed since it was the biggest surface I had available.
  2. Start cutting 1 inch wide x 2-3 inch strips around the edge of the fabric. No-sew, no sew, fabric, anchor, anchor blanket, craftybombshell, thecraftybombshell, the crafty bombshell, Nautical bedding, Nautical theme
  3. Tie the strips into knots. You can either cut all the strips and then tie, or tie as you go. I cut all one side first and then tied them into knots. 
  4. When you’re done, enjoy your blanket! See, I told you it was easy!

No-sew, no sew, fabric, anchor, anchor blanket, craftybombshell, thecraftybombshell, the crafty bombshell, Nautical bedding, Nautical themeNo-sew, no sew, fabric, anchor, anchor blanket, craftybombshell, thecraftybombshell, the crafty bombshell, Nautical bedding, Nautical theme
Stay Crafty!

Hand-Lettering 101

Two months ago I was eagerly awaiting my new purchase from Amazon, Hand Lettering 101: An Introduction to the Art of Creative Lettering. Even with AmazonPrime I felt like it couldn’t get here fast enough! ย I have scoured Pinterest and all it has to hold and instantly became enthralled with this art form. I instantly started doodling on anything I could get my hands on!

If you remember from myย Dinosaur Thank You Cards postย I’ve been trying to keep up this standard of etiquette that our generations before us have all held. Send thank you cards, birthday cards, even a thinking of you note from time to time to a special someone far away. Ever since I have started my practice of hand lettering, I have put a special touch on all the cards I have sent out. Below you can see some of the other projects and “doodles” that I have done, and also a peek into the book!

51tg3tnaqil-_sy498_bo1204203200_

In the book it explains about the different mediums you can use to hand letter, the different types of paper and also about different typefonts that work well together.

After trial and error, mostly because I couldn’t wait for the pens on order to come in, I found that Crayola Markersย don’t work very well. Some of my favorite pens to use for hand lettering areย Elegant Writers. They have a tapered tip to handle all those thick downstrokes and thin upstrokes.

This was a fun little St. Patrick’s Day craft that I did with my little man!

I got this idea fromย one project closer. Go check out her blog for more cute ideas!

The easter bunny even knows how to hand-letter!


prime_gifting_728x90_updated-_v324946771_

Valentine’s Treats!


Hey guys! Valentine’s Day is upon us and I wanted to share with you a few little things I made for my husband and son. In the past few years my husband and I have exchanged extravagant gifts for Valentine’s Day. This year I told him no flowers*, no gifts. Just a nice dinner out and a night to ourselves is all we are giving each other… but who am I kidding??? I just had to make my guys a few fun treats for today and the two that I picked were Oreo Balls and Rice Krispie Treats!

(*update* during the middle of writing this blog post my darling husband came home with flowers for me. He got Kaleb up out of bed and had him bring me the flowers. It was so cute and romantic and yes I said no flowers but… they are beautiful and I love them!!!) 


 Now you might remember from one of my older posts, I have made these Oreo Balls for you once before. They were in The shape of bats for our Halloween bash we threw in 2015. These are one of my husbands favorite treats! 

I’m giving them a sweetheart flair with “cupids” sprinkles I found at Wal-Mart. 


Oreo Ball Supplies:

  • 1 package of regular oreos
  • 1 package of room temperature cream cheese (any brand)
  • Lollipop sticks
  • 1 package of chocolate chips (I bought the Hershey’s chips like you see in the photo and they melted quite well in the microwave)
  • Sprinkles
  • Baking sheet
  • Wax paper
  • Blender, food processor etc. 

Instructions:

  1. Blend entire package of Oreos in blender, ninja, food processor etc. (save out 1/4 cup of crumbs for topping later)
  2. Add cream cheese & blend until completely mixed 
  3. Line baking sheet with wax paper
  4. Roll Oreo mixture into 2 in. balls
  5. Add lillipop sticks to each ball
  6. Freeze balls for 20 minutes
  7. Empty chocolate chips into microwave safe bowl
  8. Melt on high for 30 second intervals until melted, stirring each 30 seconds 
  9. Take balls out of freezer and start dipping in chocolate. You might have to use a spoon in this step to completely cover your Oreo ball. 
  10. Decorate your Oreo ball however you’d like!
  11. Repeat steps 9 & 10 until you are done
  12. Refrigerate & enjoy!!

This sweet treat is sure to bring happiness to everyone you gift them to!

Another fun treat I made today were heart shaped Rice Krispie Treats. I have never made them before (although they were a staple in my household growing up) so when shopping for the ingredients this morning I had to turn to the Rice Krispie legend herself, my mother. 

My mom has been making this treat for as long as I can remember, and it’s no wonder everyone loves them!!! She gave me her recipe which I noticed is different from the one they give you on the box, and I will share it with you!!


Supplies:

  • 10 cups Rice Krispies
  • 1 stick of butter
  • 2 bags of marshmallows
  • 1 bag of Hershey’s chocolate chips (optional)
  • Sprinkles (optional)
  • Heart shaped cookie cutter (optional)

Instructions:

  1. Melt butter on low heat in a large pot
  2. Add marshmallows & melt completely
  3. Remove from heat and add 10 cups of Rice Krispies
  4. Mix well
  5. Pour on greased cookie sheet 
  6. Spray your hands with cooking spray (so it doesn’t stick to you) and pat down until flat and even
  7. Refrigerate for 20 minutes
  8. Empty chocolate chips into microwave safe bowl
  9. Melt on high for 30 second intervals until melted, stirring each 30 seconds 
  10. Take your cookie cutter and start cutting out hearts
  11. Dip your hearts in chocolate. You might have to use a spoon in this step
  12. Decorate as you would like
  13. Enjoy!

A few other things that I made for this Valentine’s Day are custom Valentine’s using my cricut.  I left these for the girls I work with from Kaleb. The Mickey Mouse valentine was something that I had thought up and then I took it a step further with Kaleb’s Valentine’s Day card from us! 


What are some crafts and recipes you’ve done for Valentine’s Day? I would love to see your DIY’s!

And because it wouldn’t be an official day off without having to fix something…  today we get to go to the hardware store and get new plumping for our kitchen sink which leaked all over the place last night, and a new screen door hinge since it was so windy here yesterday the door blew open and it broke.. ahh the joys of homeownership ๐Ÿ˜‚

Stay Crafty!

Anchors-away!

Hello again! Just wanted to share with you this easy wall decor idea! Since we moved into the new house Kaleb ended up with a bigger bedroom than what he had at the apartment (lucky kid!) and I thought it was time for a more mature theme for him. If you remember from my canvas & vinyl tutorial his nursery was grey, teal and chevron. There wasn’t really more of a theme than that other than a few whale blankets, a shipyard painting, and anchor sheets. 

Since we started with a blank slate, I wanted to enhance his theme more (lest I go buy everything over again) and I decided to go full blown nautical themed! 

I’ve been looking around for some wall decor that wasn’t too expensive, as my husband rolls my eyes everytime I bring a new piece of wall decor into the house ๐Ÿ˜‚ and I couldn’t really find what I wanted. I wanted something that would tie in the new blanket for his big boy bed (I can’t believe it!) and the new curtains we got, both which are navy blue and white stripped. 

So what would any sane person do? I went to my local Hobby Lobby and perused the isles until something jumped out at me. 
I know I know, you must be thinking “hobby lobby has sooo many different categories for wall decor, surely you can find something there to fit your theme!” And I would tell you you are not wrong! But you can’t beat this project coming in at under $4.50! 

Supplies:

  • Cardboard Anchor 
  • Foam brush (can use paint brush)
  • Choice of paper (I used thin stripped scrapbook paper)
  • Modge Podge
  • Pencil (to trace the anchor)
  • Scissors 

The final result! (As you can tell by the two canvases I LOVE to make wall decor for Kaleb’s room) 

Stay Crafty!