Back in my New Years post I talked about how looking at Pinterest for “gym bag essentials” lead me to “diy hand-dyeing acrylic yarn”. I’ve always loved looking at the beautiful skeins of hand-dyed yarn at my local yarn store but the price tag always scared me away. I am so happy my pinning lead me in this direction today!
Not only did I have all the supplies on hand, but it really only took me about an hour to complete and then 5-8 hours of drying time!
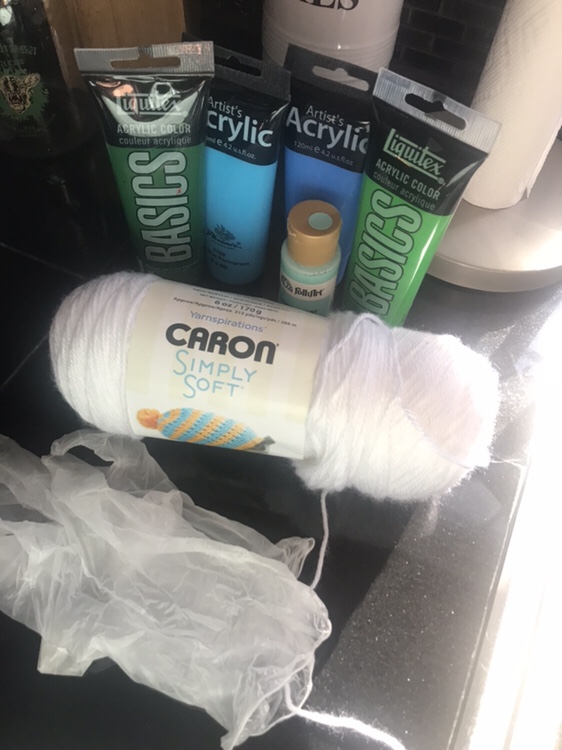
Supplies:
- 1 skein white or cream acrylic yarn
- Plastic solo cups
- Plastic spoons or popsicle sticks
- Large bowl
- Water
- Acrylic paint – your color choice(s)
- Rubber gloves
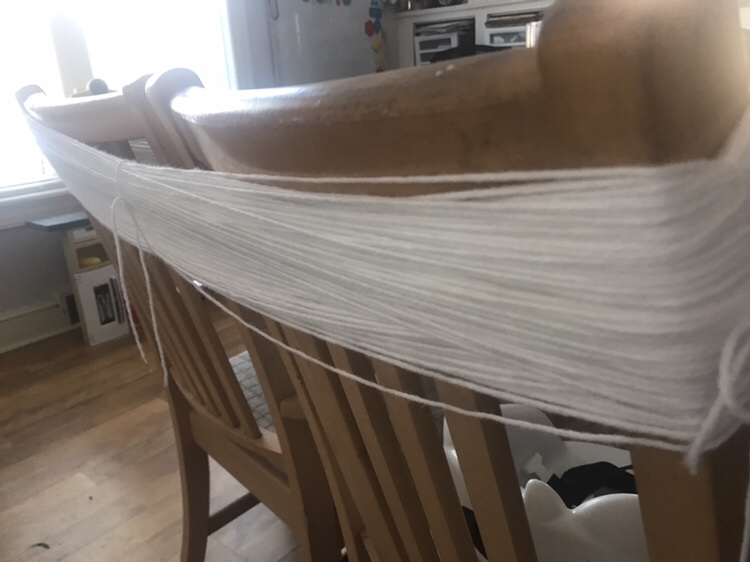
Step One
Start by wrapping your skein of yarn around two chairs like the photo below. This will make it long enough to do a stopping effect with the yarn if you wish to do. When you are done, wrap 4 strands around the ends and middles and tie a loose knot. This way, your yarn won’t become a tangled mess.
Step Two
Take your yarn and soak it in a bowl. Make sure it’s nice and saturated to allow the “dye” to soak all the way through. Pick it up and squeeze the excess water out. You can dump the bowl and put it away, we won’t be needing it anymore.

Step Three
Mix your colors. I forgot to get a photo of this step, but all I did was pour it halfway full with warm water, then squeeze in a bunch of acrylic paint. Mind you, your finished colors are gonna be a lot lighter than what you see in your cup.
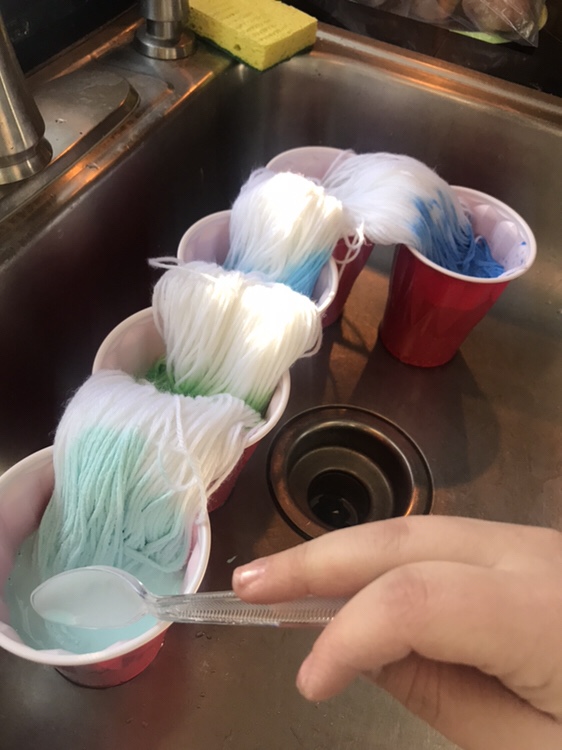
Step Four
Place your yarn in the cups like the picture below. I used a spoon to distribute some of the colors up and over the edges of the cups. But in the drying phase they will blend together too. Leave your yarn in the dye for 30 minutes.
Step Five
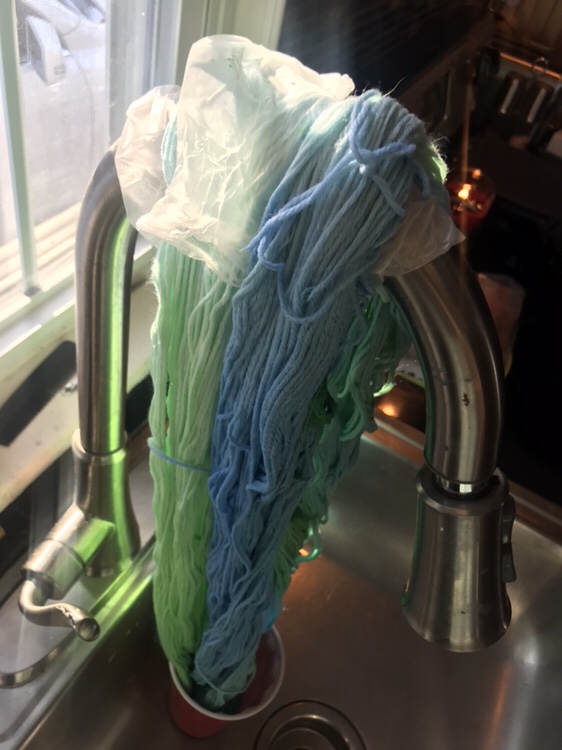
Slowly take your yarn out carefully, and dump out your paint dye. In this process I accidentally got some pure paint that hadn’t mixed on my yarn but I like it. Makes it unique! I put some rubber gloves on my faucet to protect it and I hung my yarn to drip dry. I also put a cup underneath since I didn’t want the paint to stain my sink 😋.
 < strong>Step Six<<<<<<<<<
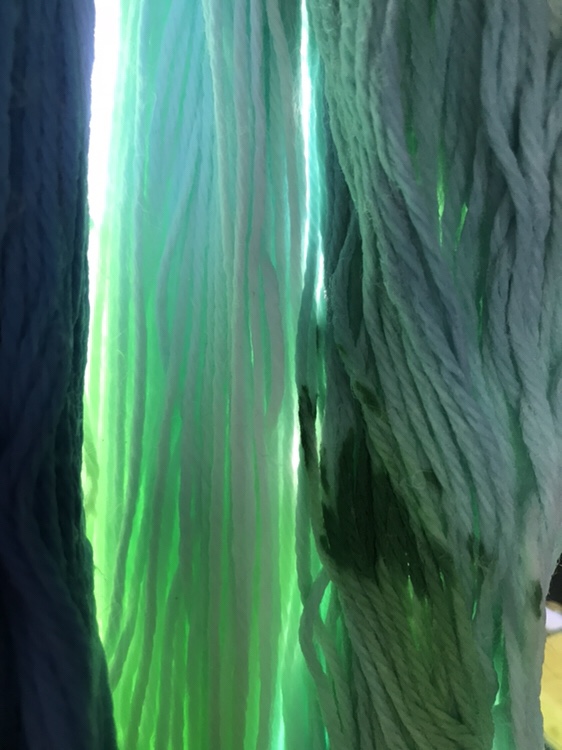
e hard part. Waiting for your beautiful yarn to dry! I have tried to use a hairdryer to speed up the process but didn't get too far with it. The only true way is to just wait it out. But I promise, the results are worth it!!
As I wrote this, I am still waiting for my beautiful hand-dyed yarn to dry and I cannot wait to make something out of it!!!
Until then,
Stay Crafty!